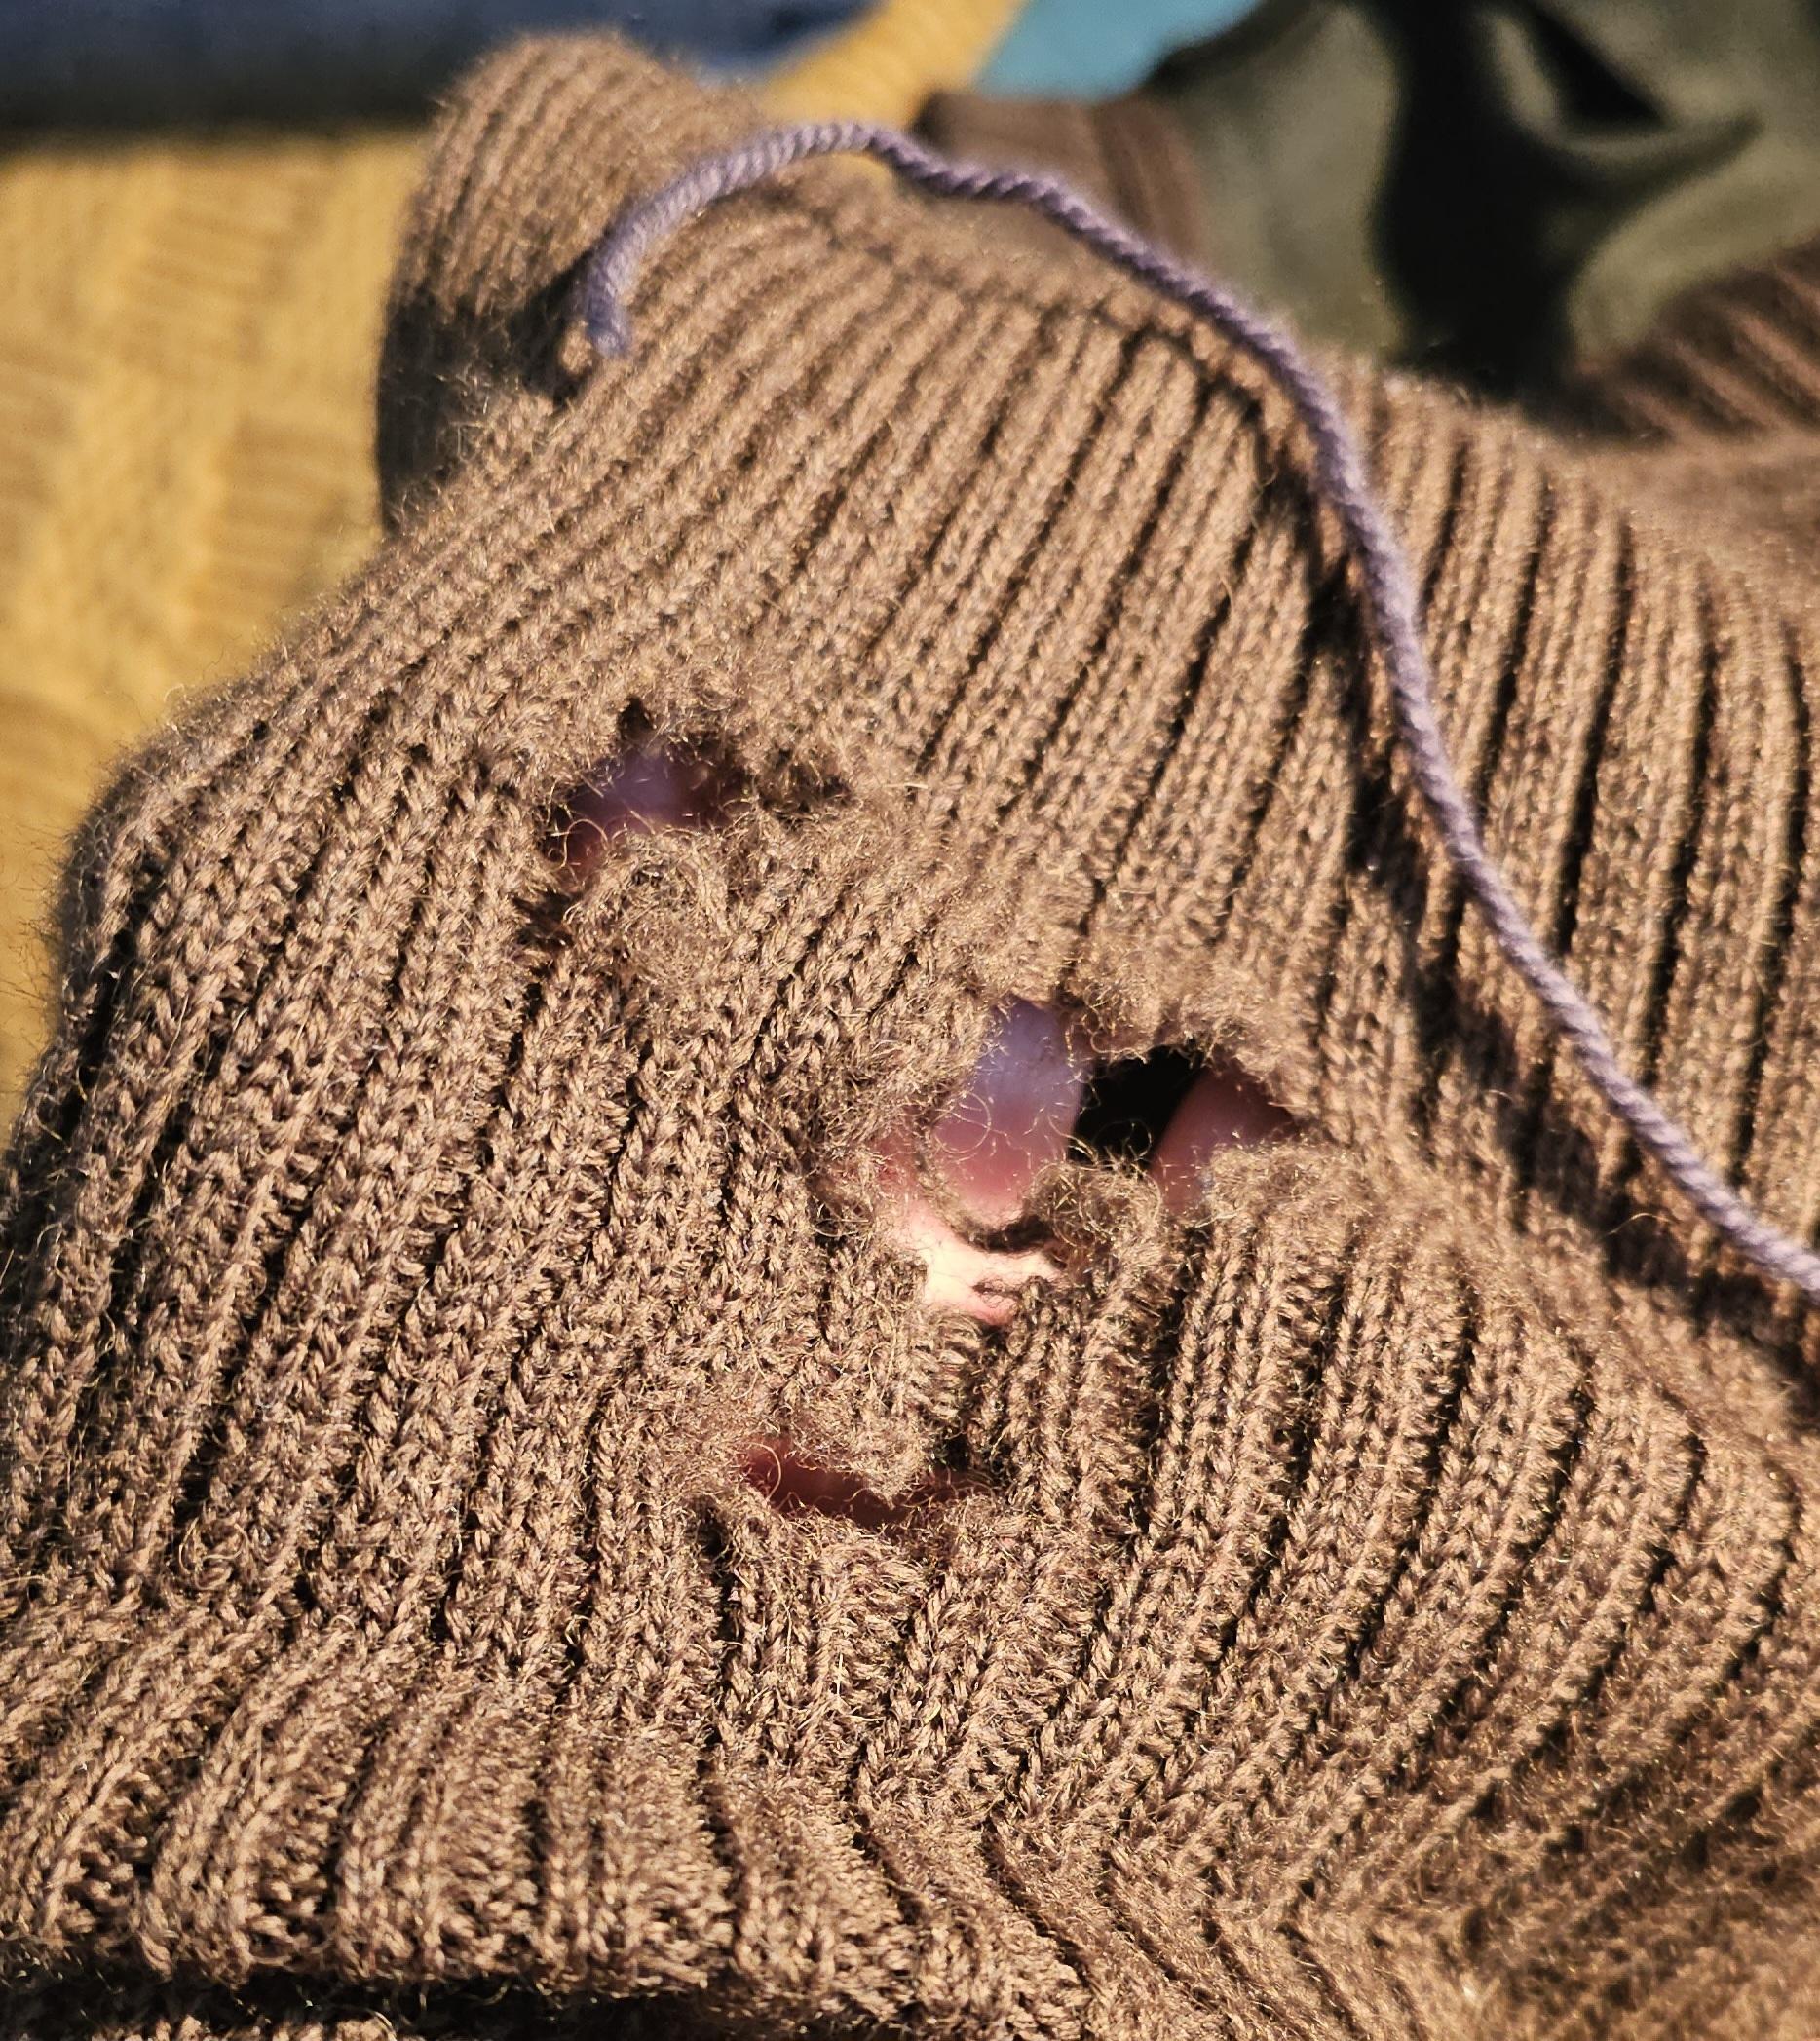
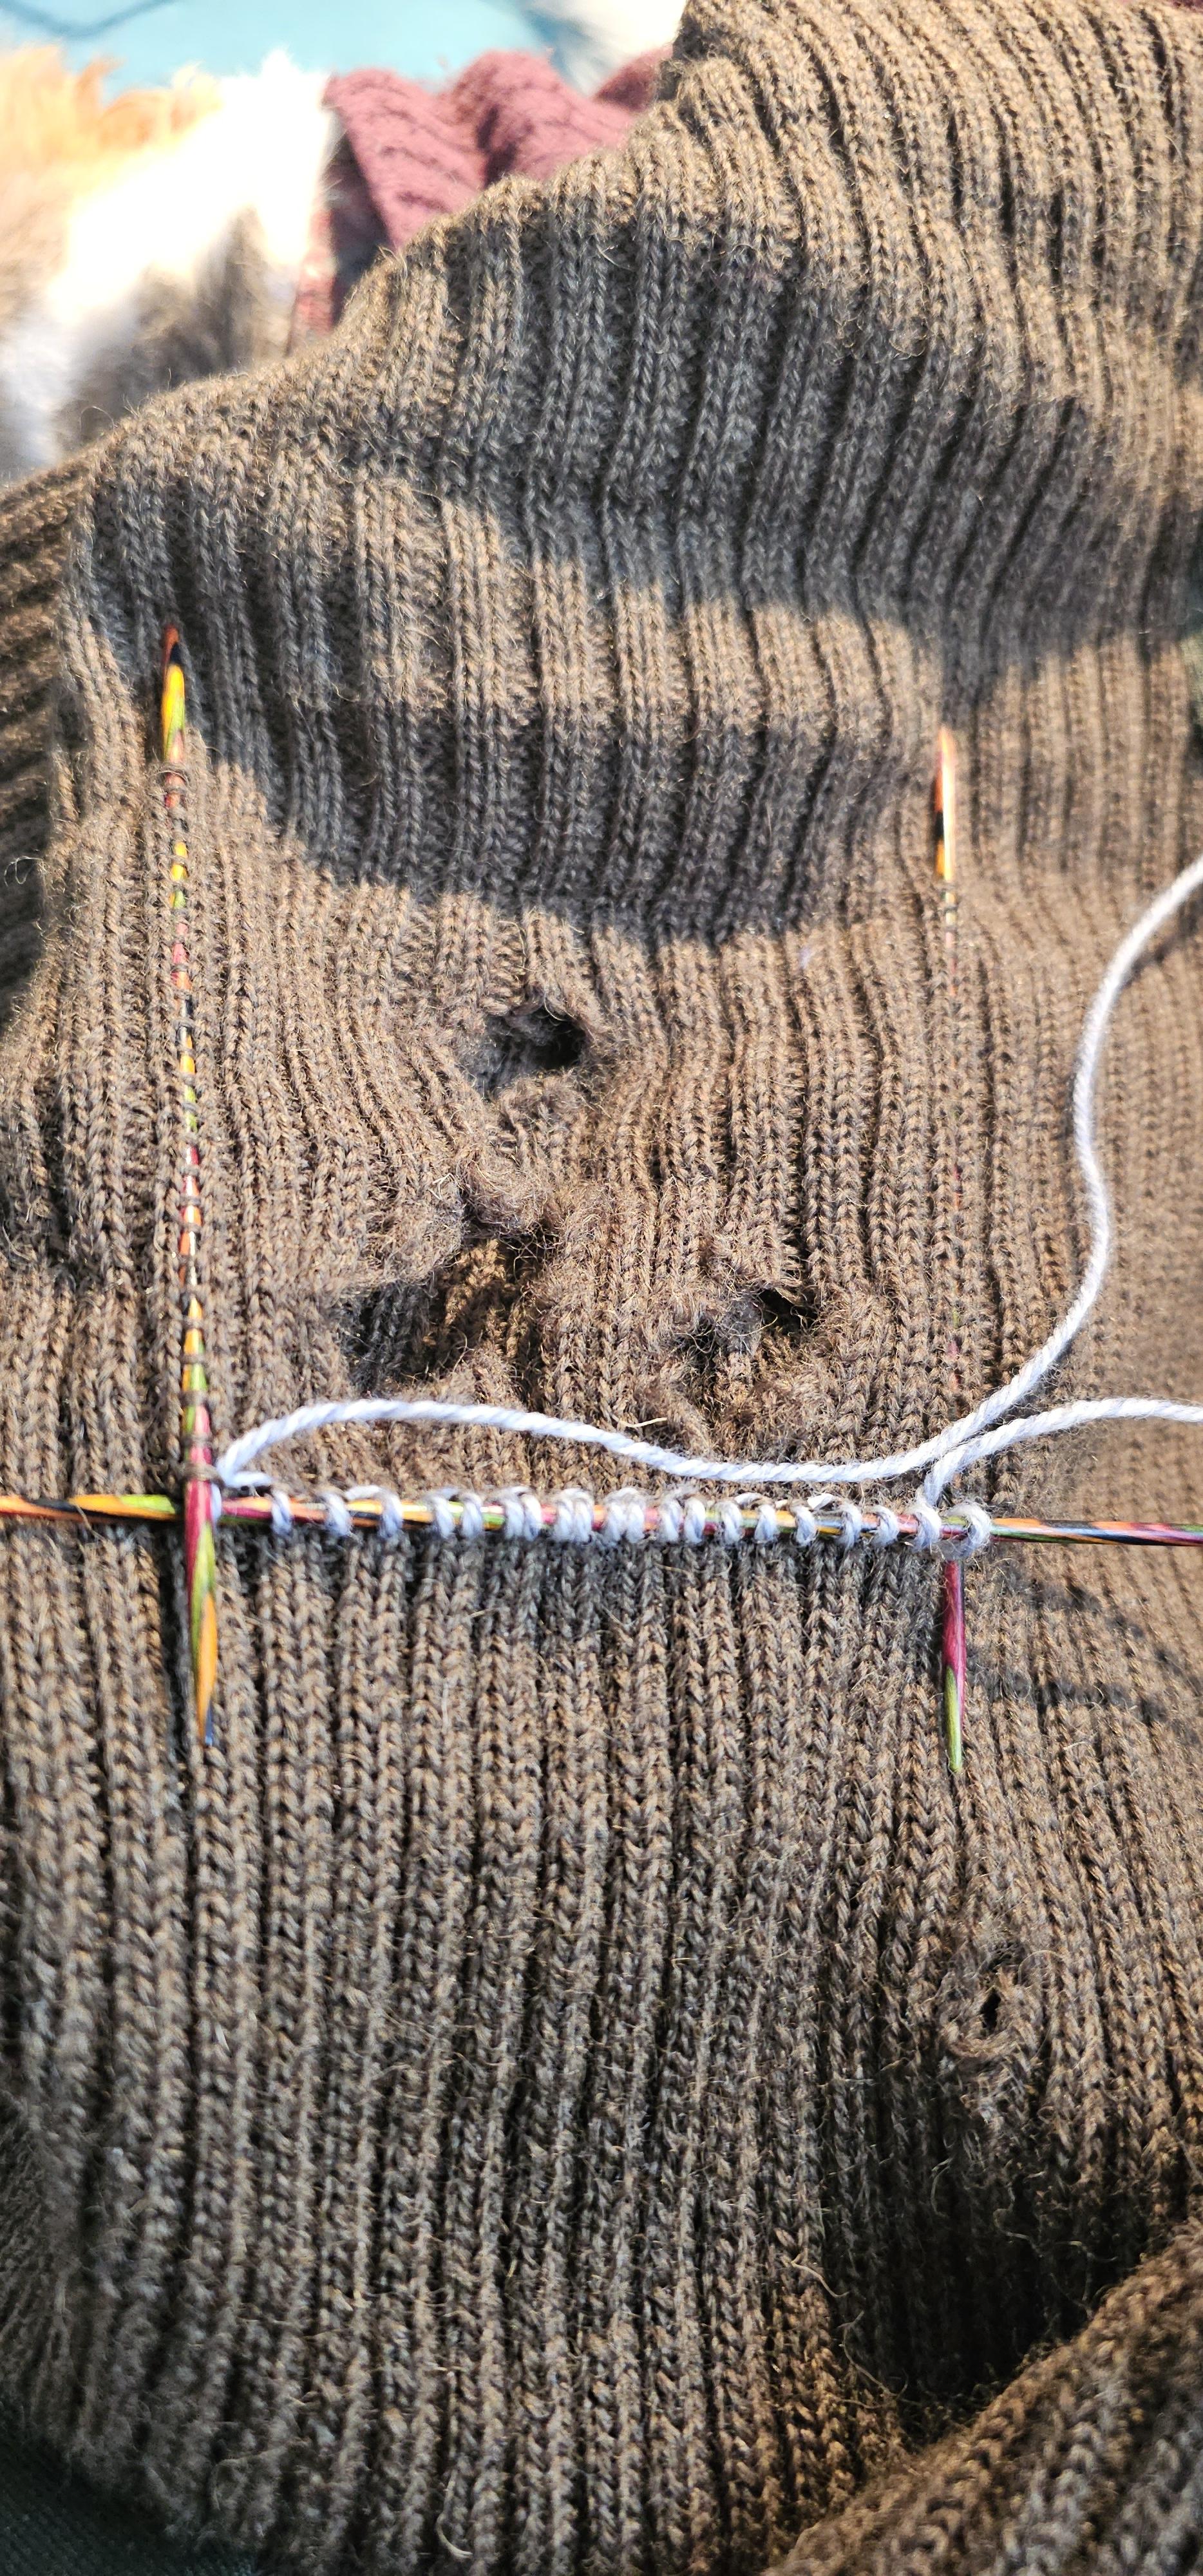
I have to repair this sleeve, eaten away by moths 😩. I plan on using the yarn seen on top, which is bigger than the yarn used on this commercial sweater.
Any tips, tutorials, for me?
I have to repair this sleeve, eaten away by moths 😩. I plan on using the yarn seen on top, which is bigger than the yarn used on this commercial sweater.
Any tips, tutorials, for me?
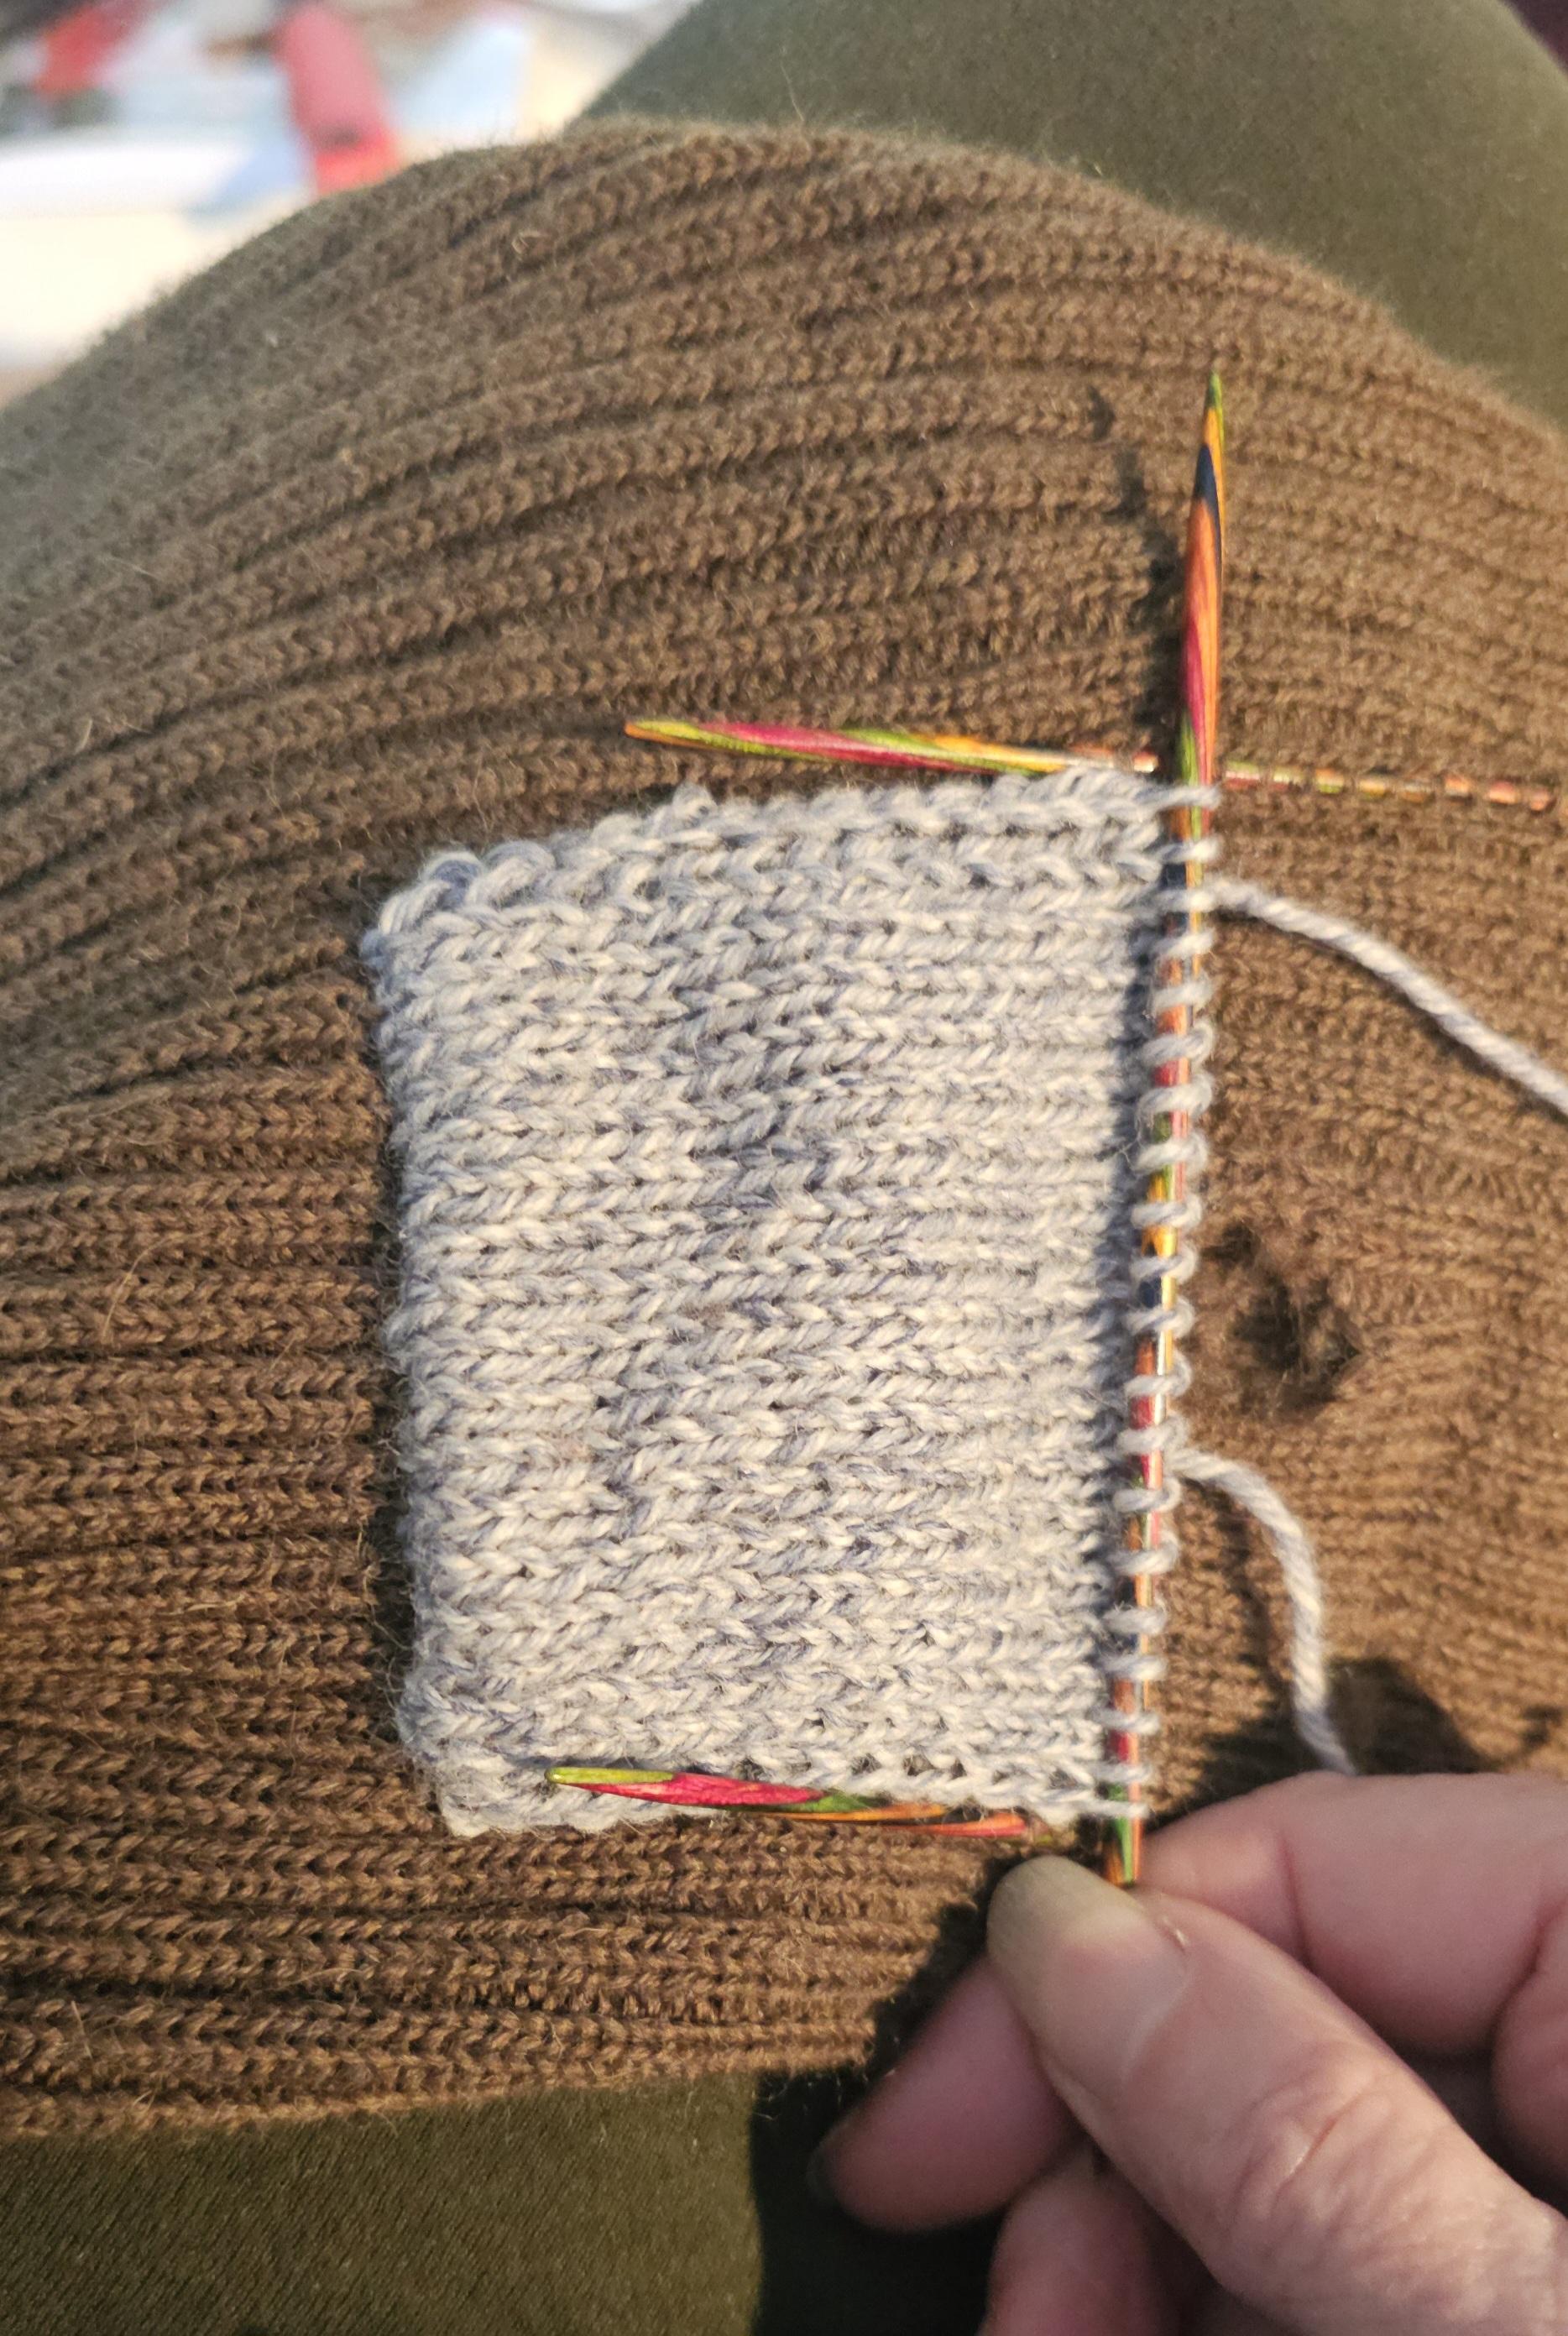
Density is looking better but not perfect. Learning of the day: swatching when mending is really important if you're using different yarn sizes.
Time for lunch. This is how far I got.
Oops. Back from lunch and there's an extra challenge waiting for me. Yeah, that's the sweater underneath the dog. I hope he didn't break my tiny needles!
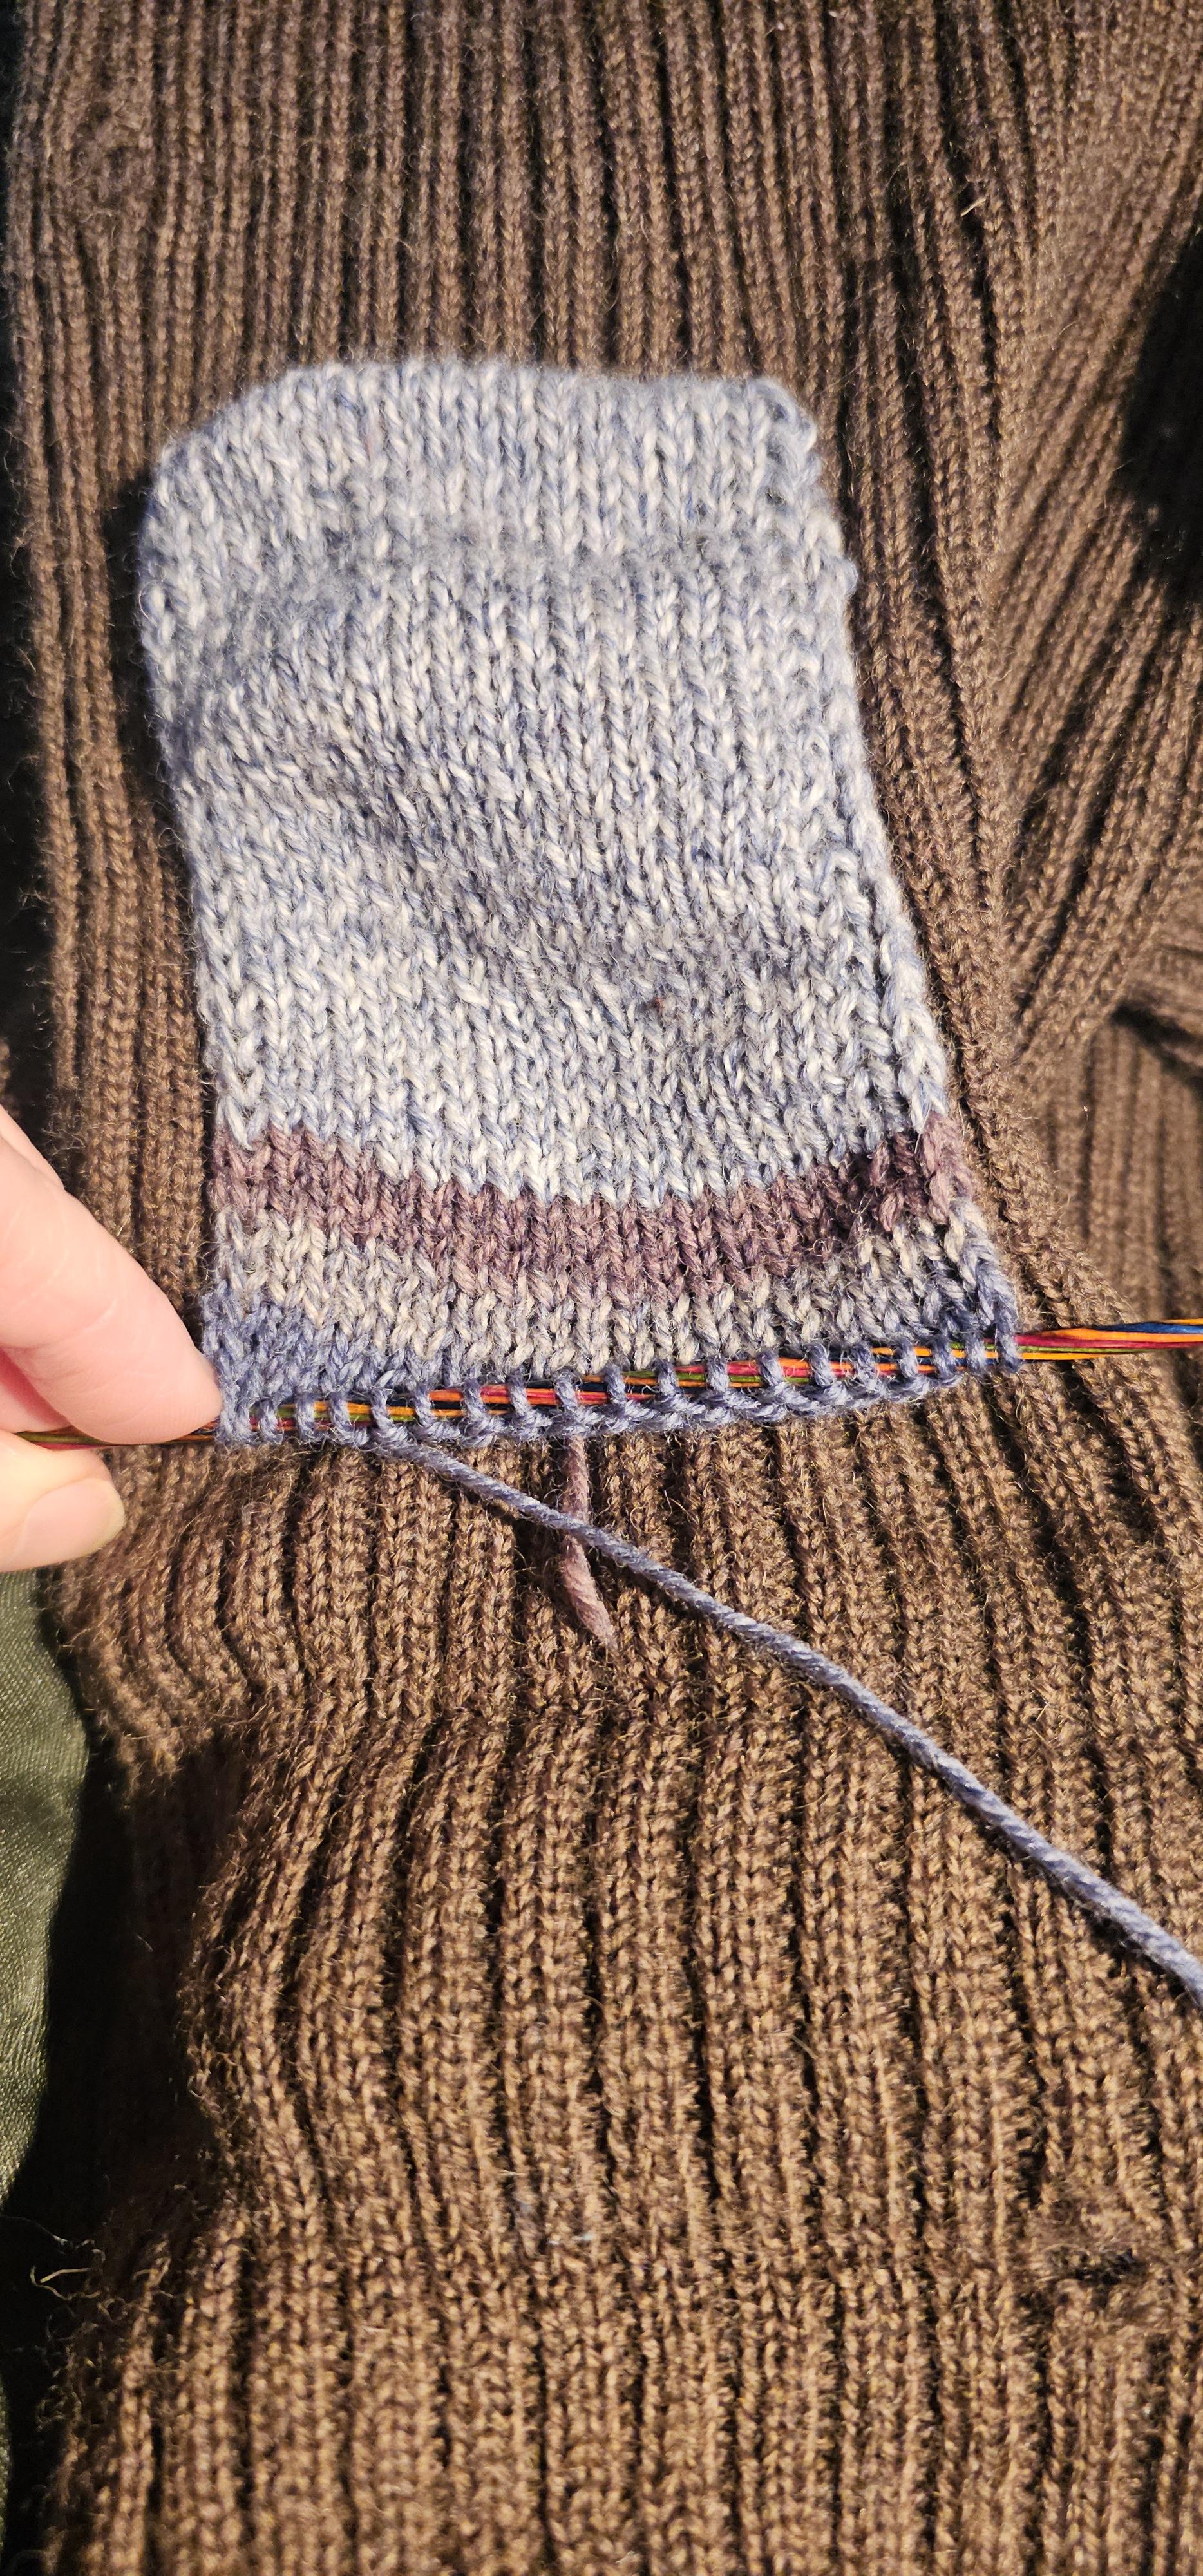
Finally ready to kitchener stitch this patch.
Tis not quite the right size but it will do.
The first is: do not feel constrained! you do not need to rebuild to the way it was; you can make your repair a feature of the renewed garment.
That is a somewhat sizable bit of damage. I would suggest you stabilize the edges with a *thin* yarn (basically, pick up all the loops so they will not further unravel, and then tie off.) After that, read up on making repairs. I think the two most-likely models are darning (creating a woven fabric) and over-knitting (create a knit 'patch'.)
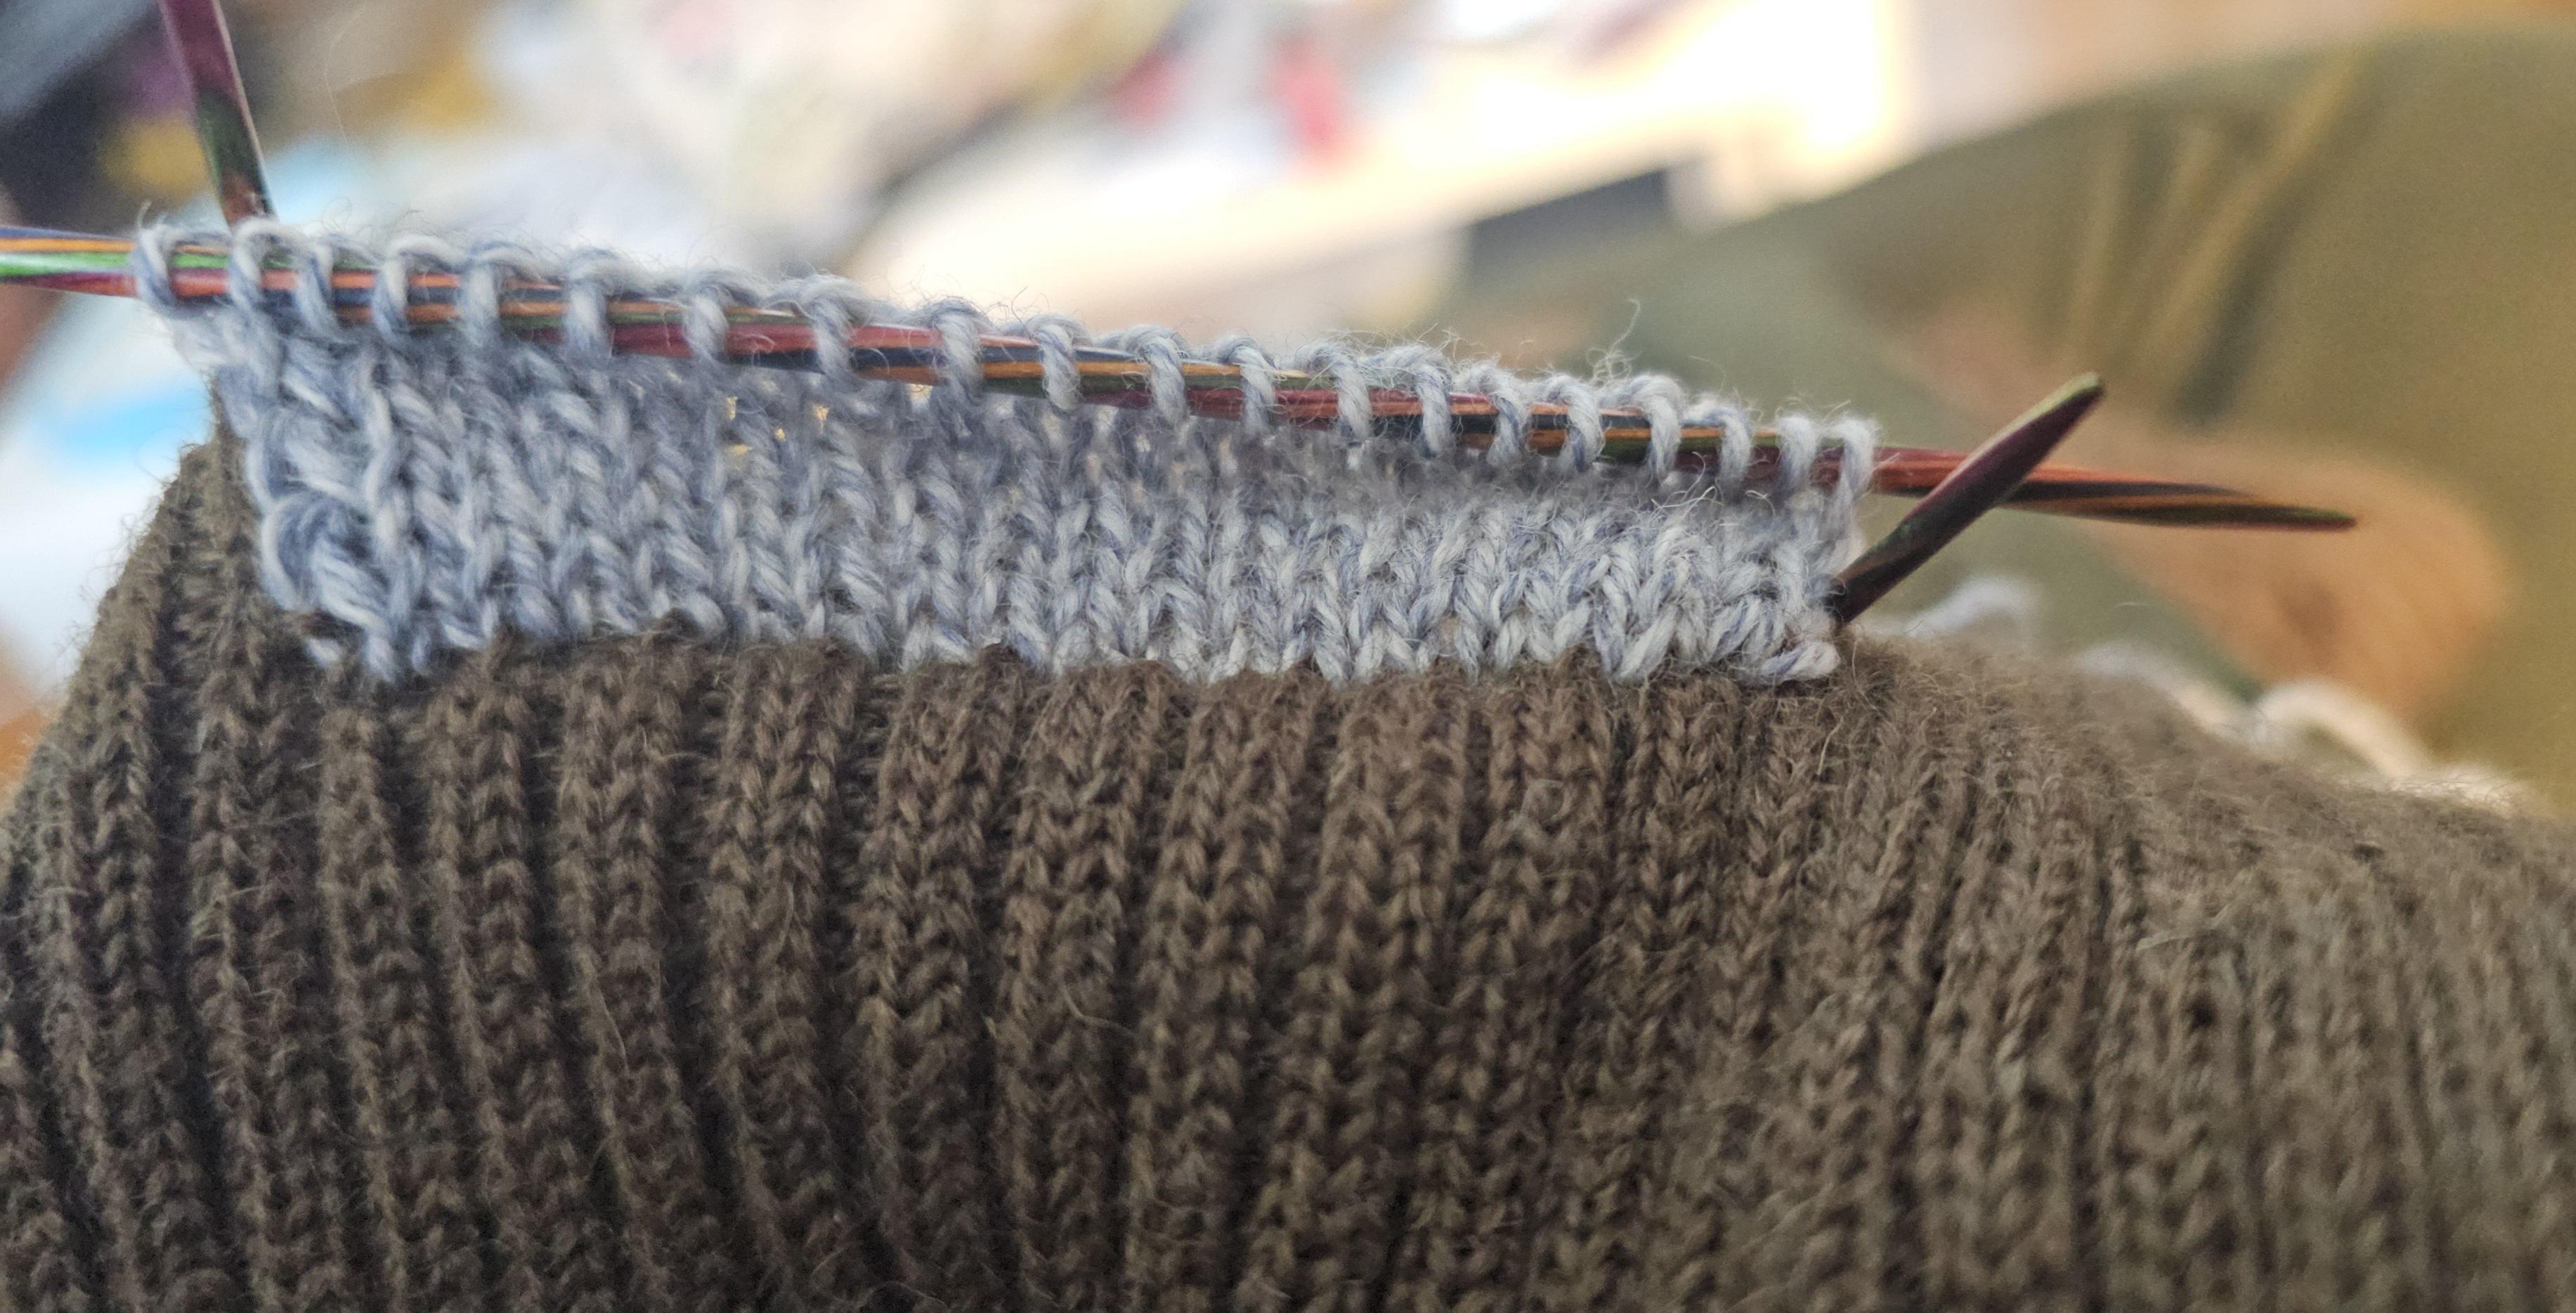
The over-knitting is what I would likely do. Basically, pick up stiitches from the sleeve, and start knitting back and forth until your 'patch' is longer than the damaged area, then decide how you want to attach it to the sleeve: stitch it down, or bind-off it down. Stitching is easier/faster.
There are a lot of details (like make the patch bigger than area to which it is attached) so ask a lot more questions!
And do not be afraid to stop and do it over. You can always improve it!
@Amgine
Over knitting is the way to go, and I'm all ready! I did change the yarn to something a bit thinner. It's now self striping sick yarn